
You may say that our (Me and Ramir's) American dream is to bring our children to the United States for a visit. My husband's sister and her family has lived there for quite sometime now. And just 3 years ago, his parents settled there too. We're thinking of visiting our in-laws in California next year. Since Ramir and I already have visas, we just need to apply for R and S. So like all travel plans, we have to start somewhere. We tried our hand in applying for a US tourist visa. Here's how we did it.
1. Determine your visa type
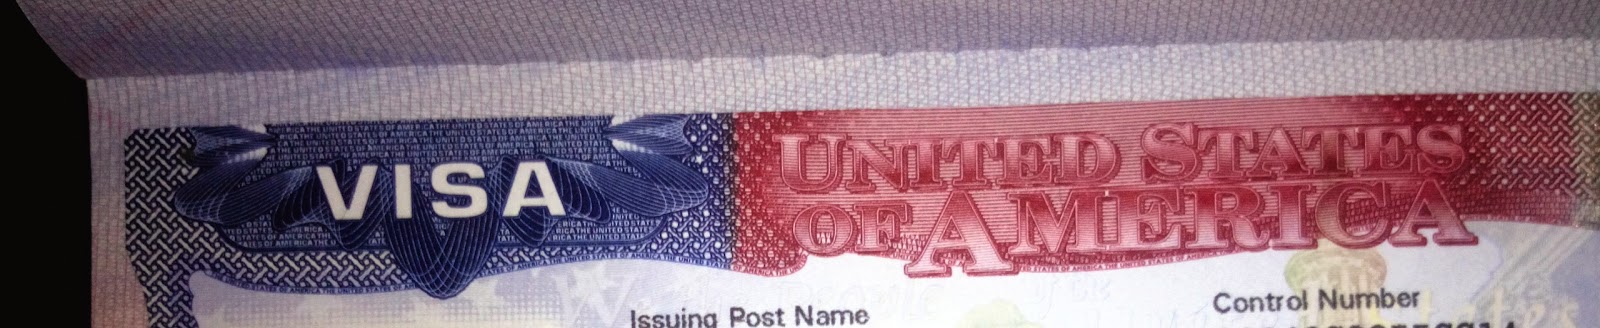
Our visa application started in this website - http://manila.usembassy.gov/nivisatype.html
1. Determine your visa type
Our visa application started in this website - http://manila.usembassy.gov/nivisatype.html
We determined our visa type, which in this case, is the B1/B2 tourist business visa.
2. Visa fee payment
Then we went ahead and paid the visa fee. We paid P7040 each for R and S visa application. Although fees are listed in U.S. dollars, payment must be made using local currency. You can pay your fee at Bank of the Philippine Islands (BPI) or, if you are an account holder at Bank of the Philippine Islands (BPI) or BancNet, you can pay online. We paid through BPIexpressonline.
The visa application fee is non-refundable and you cannot transfer it to another person. You will receive a receipt after paying the application fee. This receipt is valid for one year from the date of payment and allows you to schedule your interview at the U.S. Embassy/Consulate. You must schedule your interview while the receipt is valid, which means your interview must be booked within one year of paying your fee. If you do not schedule an interview within a year of payment then your receipt will expire, you will not be able to schedule an interview, and you must pay the fee again and begin the process anew.
3. Complete the DS-160 form
The next step is to fill-out and complete the DS-160 form here - https://ceac.state.gov/genniv/
Be sure to read the Guidelines for Completing the DS-160 Form carefully. All information must be correct and accurate. You would also need to prepare a US visa photo that you can submit together with your DS-160. Once the form is submitted, you cannot make any changes. You will need your DS-160 number to book your appointment.
4. Create a profile at the US visa application webpage
Before you can schedule an appointment, you would need to create a profile in their system. Follow this link - https://cgifederal.secure.force.com/?language=English&country=Philippines and click on New User. Complete all fields and create a password.
As you go through the process you will be able to select your visa type, enter personal data, add dependents, select your document delivery location, confirm visa payment and finally, schedule your appointment.
5. Schedule your interview appointment
Once you are in the system, you will see your dashboard. Click on Schedule Appointment on the left-hand side menu. This will start the process for scheduling your appointment.
You will need: Your passport number
The receipt number from your Bank of Philippine Islands (BPI) or BancNet receipt
The ten (10) digit barcode number from your DS-160 confirmation page
6. Arrival at the US Embassy on your scheduled appointment
Arrive
at least 15 minutes before your scheduled appointment at the US
Embassy. Your appointment slip is needed here. We arrived 30 minutes
before your appointment.a. a printed copy of your appointment letter,
b. your DS-160 confirmation page,
c. one photograph taken within the last six months,
d. your current and all old passports.
(Applications without all of these items will not be accepted.)
Any electronic device isn't permitted inside. Laptops, tablets, cameras and cellphones even USBs are not allowed. So please don't bring any if you don't have someone with you to keep them while you're inside.
If you can't help it,
there are people outside the embassy to whom you can leave your devices.
They charge you around two hundred pesos to be your temporary human
locker. You'll leave your gadgets with them, they'll give you a claim
tag. After you're done, you give back their tag, pay the fee, then get
back your gadget. I can't vouch for their trustworthiness though.
7. Confirmation of appointment
Lineup for the confirmation of your appointment. Make sure that you're lining up for the correct time. If you're too early, even if you lined up, you'll be asked to leave the line and wait for your appointment time. Your passport and DS 160 cover form is needed here.
8. Entering the US Embassy premises
You will be entering the premises of the US Embassy. Here you'll go through a scanning device. And your bags will be scanned too.
Aside from the gadgets and electronic devices, food and drinks are also not allowed. Even if you have a kid with you, you'll be asked to rid yourself of food and drinks. Not to worry though, there's a drinking fountain and food kiosk inside.
Aside from the gadgets and electronic devices, food and drinks are also not allowed. Even if you have a kid with you, you'll be asked to rid yourself of food and drinks. Not to worry though, there's a drinking fountain and food kiosk inside.
9. Proceed to the ticketing booth
After being scanned, you may now proceed to the ticketing booth. Here you'll be asked for your passports and DS-160. You'll be given a ticket (queue number) which will be stapled on your DS-160.
10. Waiting at the holding area
After this, you'll be led to a hall full of chairs. This is the holding area before you can proceed to the pre-screening, finger scanning and interview area. You'll wait here until your number is called. We waited for around 30 minutes.
11. Getting inside another building
When your number is called, you can now lineup to get inside the building where the pre-screening, finger-scanning and interviews are held. Our bags were inspected and we went through another scanning device.
12. Pre-screening
You'll be asked to line up for pre-screening. We were assigned to a window. We submitted our passports and DS 160. Then we were asked for a photograph of each of our kids. Supposedly, we don't need to submit any photo anymore since we submitted one online. I guess there was something wrong with what we uploaded. Since I didn't bring extra photographs, the lady behind the window asked us to have the kids' photos taken at the Kodak photo booth located at the holding area. She asked us to return to her once we have the photos. So we did what were instructed to do. They charged us 80 pesos for 6 US visa photos. Then we went back to the lady who pre-screened us. She told us to proceed to finger-scanning.
13. Finger-scanning
In our experience before, this will be the part where you'll be asked to scan all your fingers to record your identification. But the nice lady told us that since they're not 14 years old yet, they don't need to do the finger scanning. She just asked the complete name and birth dates of my daughtes. She even mentioned that S has the same birthday as hers. Then she told us to go to any window from 1-9. We can line up to any consul who was free. I think this is an express service for those with children because ordinarily we would be given another queue number and would be asked to wait for our turn to be interviewed.
14. Interview
The usherette directed us to a window. We gave the passports and DS 160 to the consul. Then, he asked us 4 questions:
Do we have a US Visa?
Have we been to the United States?
How many time?
How long?
Then he told us that our passports will be delivered to us within a week. And just like that, we're done. We exited where we entered.
Honestly, we're prepared. We've brought all documents we thought we needed. We even rehearsed our kids for possible Q and As. But I guess we got lucky. And we're truly grateful.
It was a wonderful blessing indeed. July 21, 2014 - on R's ninth birthday, both of my girls were given a US visa, and a chance to be with my in-laws in America. Thank you Lord for the many miracles and answered prayers.
The passports arrived after 4 days. If there's a possibility that you wouldn't be in your house on the day of the delivery, I suggest you write an authorization letter. The mailman wouldn't just leave the passport to anyone, other that who's specified in their delivery receipt.

The passports arrived after 4 days. If there's a possibility that you wouldn't be in your house on the day of the delivery, I suggest you write an authorization letter. The mailman wouldn't just leave the passport to anyone, other that who's specified in their delivery receipt.
great! congratulations! -leo
ReplyDeleteI really appreciate the kind of topics you post here. Thanks for sharing us a great information that is actually helpful. Good day!
ReplyDeleteSync visas
Thanks for a wonderful share. Your article has proved your hard work and experience you have got in this field. Brilliant .i love it reading. esta visa application
ReplyDelete